When it comes to managing email data, particularly for Outlook users then users often need to convert Offline Storage Table (OST) files to Personal Storage Table (PST) files for effective management of their emails.
OST files are used by Microsoft Exchange Server to allow users to work offline, while PST files are used for storing data locally. Whether you are migrating to a new email server, backing up your emails, or simply seeking to manage your data better, there are various methods available to convert OST file to PST. In this article, we will explore different techniques to move all OST file emails to PST effectively.
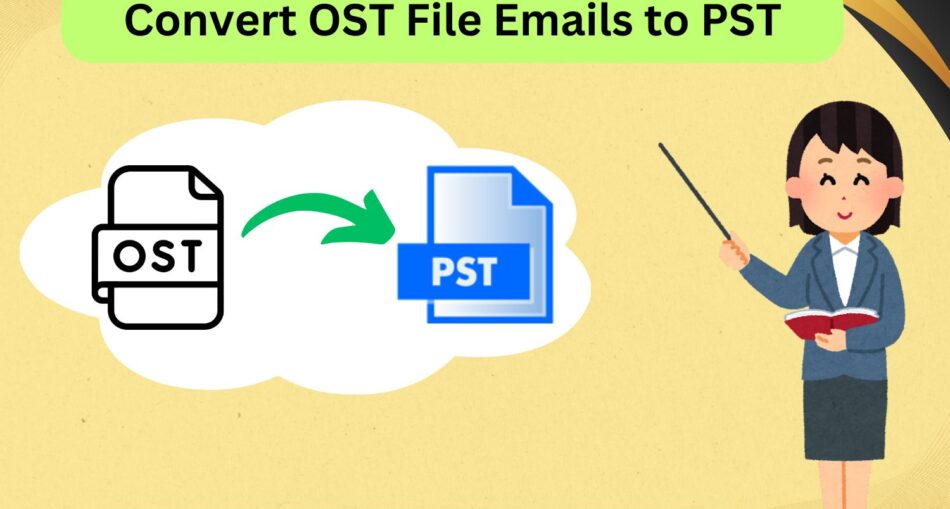
Different Method to Convert OST to PST
Method1: Manual Method Using Outlook
One of the simplest methods for moving emails from an OST file to a PST file involves using Microsoft Outlook itself. Follow these steps:
Step 1: Open Outlook and log in to your account
- Ensure that you are working online, as any changes made to your OST file will be synchronized with the Exchange server.
Step 2: Create a New PST File
- Click on File > New > Outlook Data File.
- Choose a location to save the PST file and give it any name.
Step 3: Move Emails to PST
- Navigate to the Folder pane and locate your OST file.
- Select the emails you want to move. You can hold down the Ctrl key to select multiple emails or press Ctrl + A to select all emails.
- Drag and drop the selected emails into the newly created PST file.
Note: This method may not be feasible for large OST files, and users can experience performance issues or complete data transfer errors.
Method2: Using Import/Export Feature
If you are looking for a structured way to move emails from an OST to a PST file, you can use Outlook’s Import/Export feature.
Step 1: Open Outlook
- Log in your Outlook account.
Step 2: Access Import/Export Wizard
- Click on File > Open & Export > Import/Export.
- Choose Export to a file then click Next.
- Select Outlook Data File (.pst) and click Next.
Step 3: Select the OST File
- Choose the folders you wish to export (you can select the entire inbox if desired).
- Click Next and choose the location where you want to save your PST file.
- Click Finish to complete the process.
Method 3: Using Third-Party Software
For users dealing with large OST files or looking for a more straightforward solution then third party software like OST to PST Converter offer a quick and efficient way to convert OST to PST with attachments. The tool comes with user-friendly interfaces, offering bulk conversion of emails from OST file to PST format. It is fully professional tool to convert OST file to PST thus there will no data loss would take place. Here are some steps:
Conclusion
If you are uncomfortable with DIY methods or dealing with large OST files, seeking professional help may be the best route. It easily handle OST to PST conversion along with data integrity checks. Ability to recover items from corrupted or inaccessible OST files. It has high success rate to import OST to PST, minimize the chance of data corruption.